A warm refrigerator is one of those problems that feels like an emergency the moment you notice it. Before you assume the worst and reach for the phone, there are three simple things worth checking first. Many cooling issues trace back to something you can fix yourself in under an hour, no tools or technical background required.
Here’s exactly what to check, in order, what it means if none of it solves the problem, and what to expect if you do end up needing a repair.
Before You Do Anything: Protect Your Food First
Before you start troubleshooting, take a moment to protect what’s already inside the fridge.
How Long Food Stays Safe Once Cooling Stops
A full refrigerator generally keeps food safe for about four hours without power or active cooling, while a full freezer can hold safely for around 48 hours if the door stays closed. A half-full freezer only holds that temperature for about 24 hours, so keeping both compartments as full as possible and the doors shut while you troubleshoot buys you the most valuable time.
What Temperature Your Fridge and Freezer Should Actually Read
Your refrigerator should stay at or below 40 degrees Fahrenheit, and your freezer should hold at 0 degrees Fahrenheit. If you have a spare thermometer, placing one inside gives you a clear, objective reading instead of guessing based on how cold things feel by hand. Checking this now also gives you a useful before-and-after comparison once you start working through the checks below.
Thing 1: Check Your Temperature Settings and Power Supply
This is the fastest check on the list, and it solves the problem more often than you’d expect.
A Bumped or Accidentally Changed Thermostat Dial
Kids, cleaning, or a stray grocery bag can bump the temperature dial without anyone noticing. Check that the setting hasn’t shifted toward “warm” before assuming something mechanical has failed. On models with digital controls, double check that a vacation or energy-saver mode hasn’t been accidentally turned on, since these modes intentionally run the compressor less often.
Confirming the Outlet, Breaker, and Power Cord Are Actually Working
Check that the refrigerator is fully plugged in, test the outlet with another device, and check your breaker panel for a tripped switch. It sounds obvious, but a loose plug or tripped breaker is an easy thing to overlook, especially if the refrigerator was recently moved for cleaning or a kitchen project.
Why a Recent Power Outage Might Be the Real Cause
If your area recently experienced an outage, the refrigerator may still be recovering or may have tripped an internal safety feature designed to protect the compressor from a sudden power surge when electricity returns. Our guide on protecting appliances during power outages covers how outages affect appliances beyond just the obvious loss of power.
Thing 2: Check and Clean the Condenser Coils
Dirty condenser coils are one of the single most common and most preventable causes of a warm refrigerator.
Where to Find the Coils on Your Specific Model
Depending on your model, the condenser coils sit either behind a kick plate at the bottom front of the unit or along the back exterior. Check your owner’s manual if you’re not sure which setup you have, or look for our guide on finding the model number on any major home appliance if you need to look up the exact specs for your unit.
Why Dust and Pet Hair Buildup Stops a Fridge From Cooling
The condenser coils release heat as part of the cooling cycle. When they’re coated in dust and pet hair, that heat can’t escape efficiently, and the compressor ends up working harder just to keep up. Over time, this added strain shortens the compressor’s working life even before it causes a full cooling failure.
How to Safely Clean the Coils Yourself
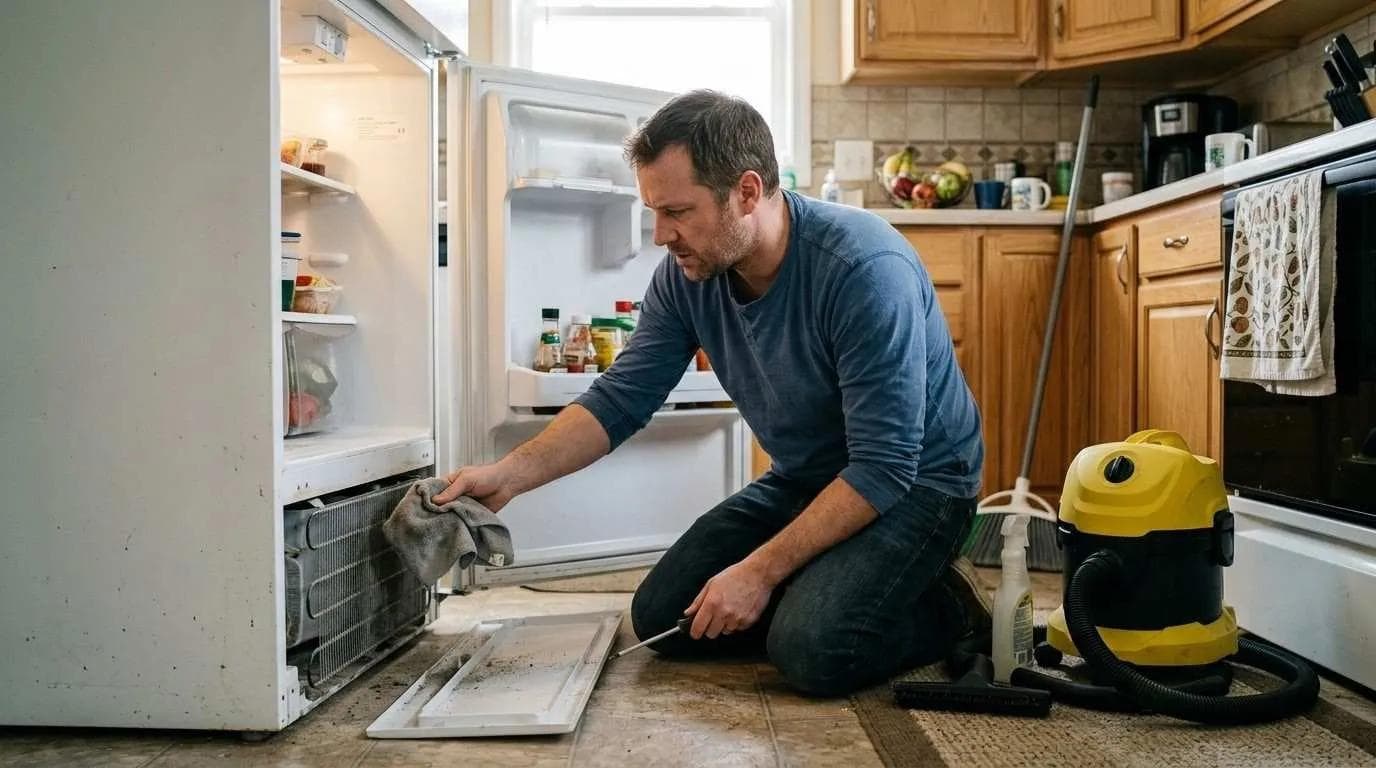
Unplug the refrigerator, then use a vacuum with a brush attachment or a dedicated coil brush to clear away buildup. Most homeowners can do this in about 15 minutes without needing to move the entire unit, though pulling it slightly away from the wall gives you better access to rear-mounted coils.
How Soon You Should Notice Improved Cooling After Cleaning
After cleaning the coils, give the refrigerator a few hours to catch up before checking the temperature again. Improvement is often noticeable within that window, though a severely neglected unit may take a bit longer to fully stabilize.
Thing 3: Check the Door Seals and Airflow Inside
A door that isn’t sealing properly, or a fridge packed too tightly, can look exactly like a mechanical failure.
The Dollar Bill Test for a Failing Door Gasket
Close the door on a dollar bill so it’s halfway in and halfway out. If you can pull it out easily, the seal likely isn’t gripping tightly enough to keep cold air inside. Repeat this test at a few different points along the door, since a gasket can fail unevenly rather than all at once.
Overpacked Shelves and Blocked Interior Vents
Cold air needs room to circulate. Overpacked shelves or boxes pushed against the interior vents can block that airflow and cause uneven or insufficient cooling, even when the refrigerator itself is working fine.
Why a Door Left Slightly Open Mimics a Cooling Failure
A door that doesn’t fully latch, whether from a food container in the way or a worn hinge, lets cold air escape continuously, which can look identical to a genuine cooling malfunction from the outside.
If All Three Check Out Fine, Here’s What Else Could Be Wrong
If you’ve worked through all three checks and the fridge still isn’t cooling, the cause is likely something more specific.
A Failed Evaporator or Condenser Fan
The evaporator fan circulates cold air from the freezer into the fridge compartment, while the condenser fan cools the compressor area. A failed fan often means the freezer stays cold while the refrigerator side warms up.
A Defrost System Failure (Heater, Thermostat, or Timer)
Modern refrigerators defrost automatically on a timer. If the defrost heater, thermostat, or timer fails, ice can build up on the evaporator coils and block airflow completely.
A Refrigerant Leak or Compressor Issue
A refrigerant leak or a failing compressor are the most serious causes on this list, and both require professional diagnosis and repair rather than a DIY fix.
Symptom Checklist: Match What You’re Seeing to the Likely Cause
Use these quick observations to narrow things down further.
Freezer Cold, Refrigerator Warm
This points toward a failed evaporator fan or a blocked vent between the freezer and refrigerator compartments.
Refrigerator Runs Constantly but Never Gets Cold Enough
This points toward dirty condenser coils, a failing condenser fan, or a door seal that isn’t closing properly.
No Sound or Activity From the Unit at All
This points toward a power supply issue, whether that’s an unplugged cord, a tripped breaker, or a failed component preventing the compressor from starting at all.
Heavy Frost or Ice Buildup Inside the Freezer
This points toward a defrost system failure, since ice buildup on the evaporator coils blocks the airflow the refrigerator needs to cool properly.
What These Three Checks Can and Can’t Fix
Knowing where the line sits helps you decide what to try next.
Problems You Can Usually Resolve Yourself in Under an Hour
Thermostat settings, power connections, coil cleaning, and door seal issues are all safe, straightforward fixes most homeowners can handle without any special tools.
Why a Refrigerant Leak Isn’t a DIY Repair (and Isn’t Legal to Attempt)
Refrigerant handling requires EPA certification and specialized equipment, which is why a suspected leak should always go to a licensed technician rather than being attempted at home.
When Continuing to Troubleshoot Risks Losing More Food
If you’ve spent more than an hour on these checks with no improvement, it’s usually better to call for help than to keep guessing while food continues to warm. Our breakdown of the hidden costs of DIY appliance repair explains why an accurate diagnosis sooner often saves both money and groceries.
What It Costs to Fix in 2026 (If the 3 Checks Don’t Solve It)
Here’s a general sense of what to expect if the issue turns out to be something more involved.
Evaporator Fan and Condenser Fan Replacement Cost
Fan replacement is one of the more affordable refrigerator repairs, and it’s a common fix for the “freezer cold, fridge warm” symptom covered earlier.
Defrost System Repair Cost
Defrost heater, thermostat, or timer repairs fall in a moderate cost range, depending on which specific component has failed and how accessible it is on your model.
Compressor and Sealed System Repair Cost
Compressor and sealed system repairs are the most expensive on this list, often reaching into several hundred dollars or more, given the complexity and specialized labor involved.
Repair vs. Replace: The 50 Percent Rule Applied to Refrigerators
If a repair costs more than half the price of a comparable new refrigerator, replacement usually makes more financial sense, especially on an older unit. Our repair or replace cost-benefit analysis walks through how to weigh that decision for your specific situation, and our appliance life expectancy guide is a useful reference for knowing where your unit stands.
The Lake Elsinore Factor: Local Conditions That Affect Cooling Performance
A few local conditions make cooling problems more common here than in other areas.
Garage Refrigerators and Summer Heat Strain on the Compressor
Many homes in our area keep a second refrigerator in the garage, where summer heat forces the compressor to work significantly harder to maintain a safe internal temperature. Our breakdown of how Lake Elsinore’s climate shortens equipment life covers this kind of strain in more depth.
Hard Water’s Effect on Ice Makers and Water Lines
Riverside County’s hard water can cause mineral buildup inside ice maker lines and water filters, which can indirectly affect how efficiently your refrigerator runs. Our guide on hard water solutions for Lake Elsinore residents covers ways to reduce this impact.
Why Power Fluctuations During Storms Can Trigger Cooling Issues
Voltage fluctuations during storms can affect a refrigerator’s control board and compressor cycling, sometimes triggering a cooling issue that isn’t obvious at first glance. A surge protector for your refrigerator is a simple way to add a layer of protection against this.
Preventing This From Happening Again
A few consistent habits keep most cooling problems from developing in the first place.
A Simple Coil Cleaning Schedule
Clean the condenser coils every six to twelve months, or more often if you have pets. Our seasonal appliance maintenance checklist is a useful reference for keeping this on track alongside your other appliances.
Door Seal Checks Worth Adding to Your Routine
Run the dollar bill test every few months, especially on refrigerators that see heavy daily use, since gaskets naturally wear down and lose their grip over time.
Signs of Early Compressor Strain Worth Watching For
A refrigerator that runs longer than it used to, feels unusually warm on the outside near the compressor, or cycles on and off more frequently are all early signs worth paying attention to before a full failure happens.
Most refrigerators that stop cooling can be traced back to one of these three simple checks, and catching the cause early can save both your food and a repair bill. If you’ve worked through everything here and the problem persists, the team at Appliance Repair Lake Elsinore is ready to help. You can reach out to us anytime you’d rather have a technician diagnose the issue than keep guessing.